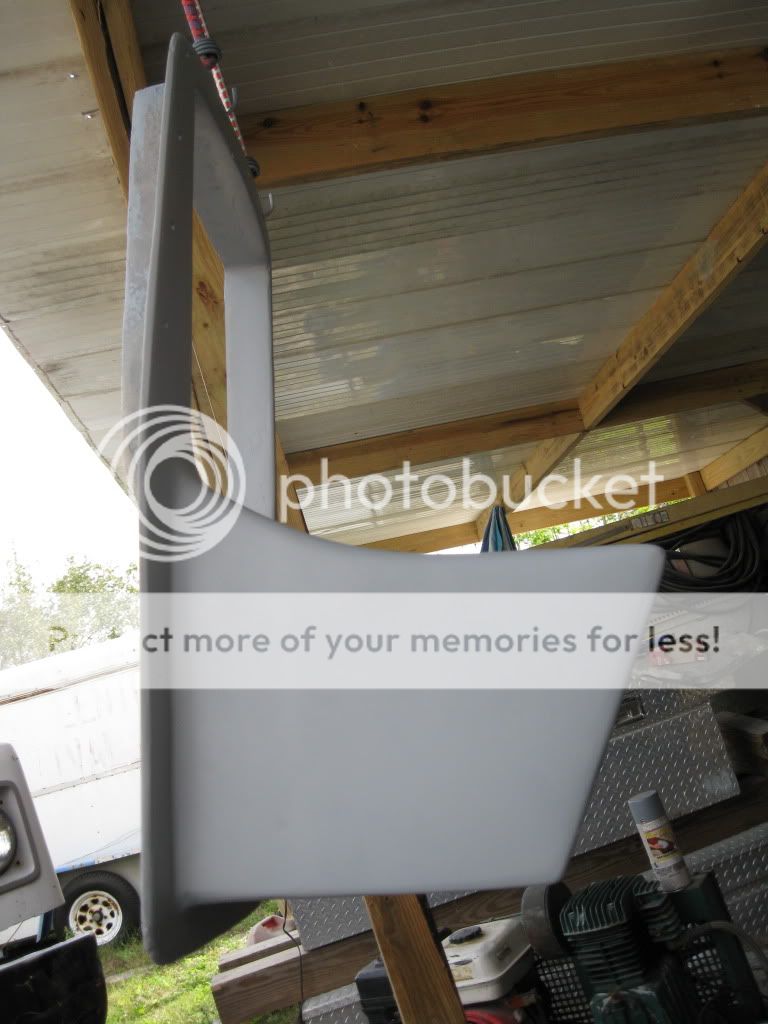
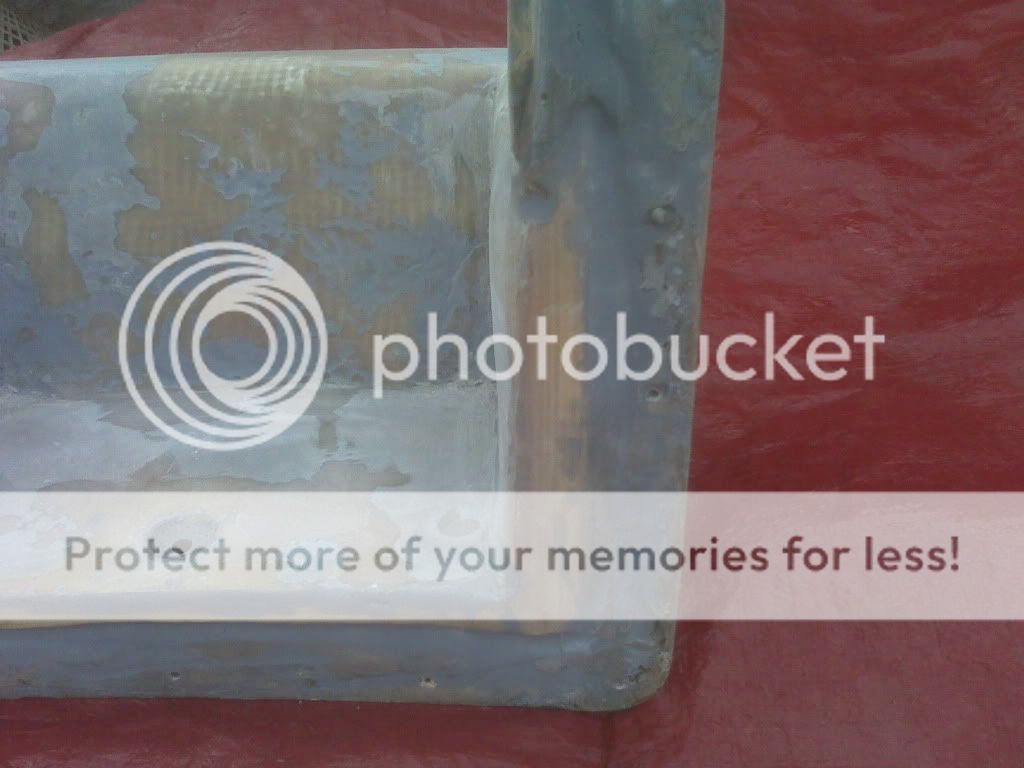
finished the O.B. mount overhaul. extended and reinforced it. Here are a few pics
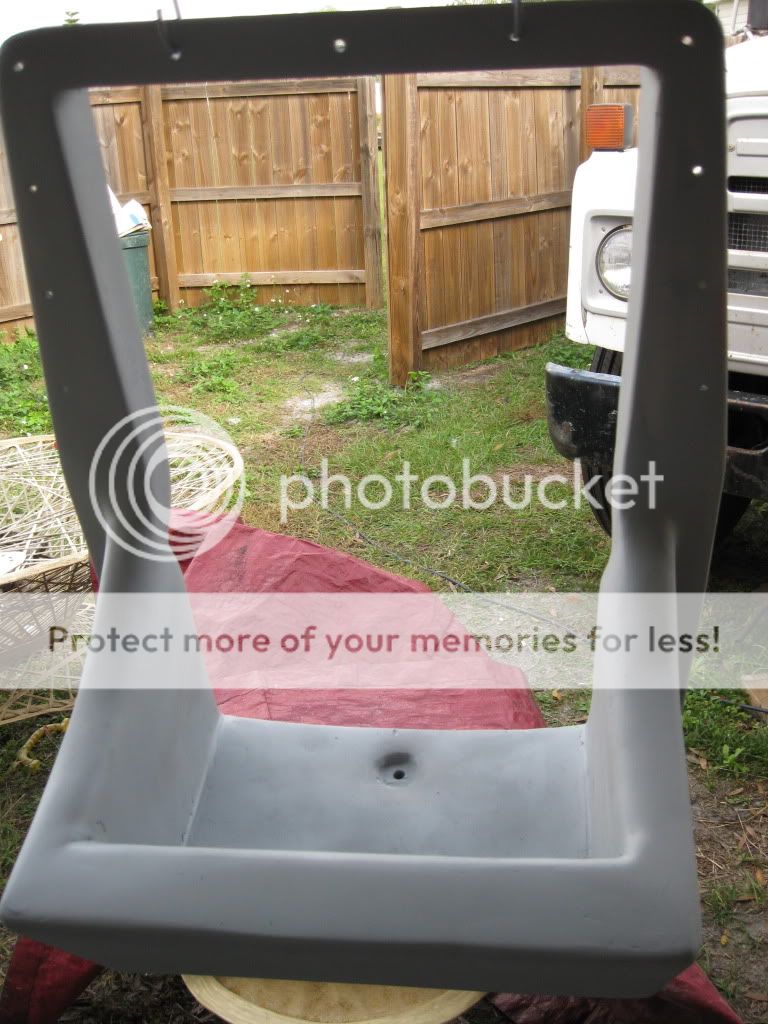
the sides are two layers, one 5/8" and one 1/2". The back is made of two 5/8" ply and one 1/2" The corners are mortised and bonded with glue fiber glassed with thick matting and finished with fiberglass resin jelly
[/img]
This is trex decking "2x4" used to beef up transom and ss bracket made from a 4"x16" armor push plate
What do ya think?
Thanks !! for all the comps, on a 1 to 10 this is about a 5. Pulling old and seting up new yamaha added some to it. The extenion is about 7" I guess I can't remember the exact over all now. but I was going for about 12" off the transom instead of the OEM 5 1/2". There are some changes That should be made. "on the next one" like the angle of the jack plate "I think that s what its called. the back board were the engine clamps to"
I coppied the OEM angle of about 30*, when it should be less at maybe 15*. I have a little to much swing under the boat. and I maybe a bit high
out of the water because I came strait off the transom did't compesate enough for that angle, it slopes forward a bit. I Probably should have sloped down an inch or so to bring the lower unit deeper in the water.
The prop dose sit in the water well and no cavation, so it might be ok.
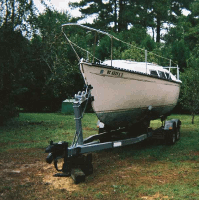
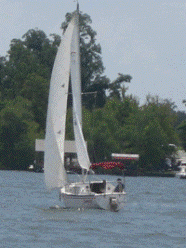
it is a long shaft 25". Scribing the plywood extenions to the transom was a chore with the boat in the water. I had to hang off the back or work from the front of another boat fun fun. Oh ya, there's gaters in the water!! I'm at the end of a canal that backs up to wild florida. By having the plywood fit perfict to the transom, I was thinking it would tranfer weight better. this takes two planes, the vertical and horizontal curve of the transom.
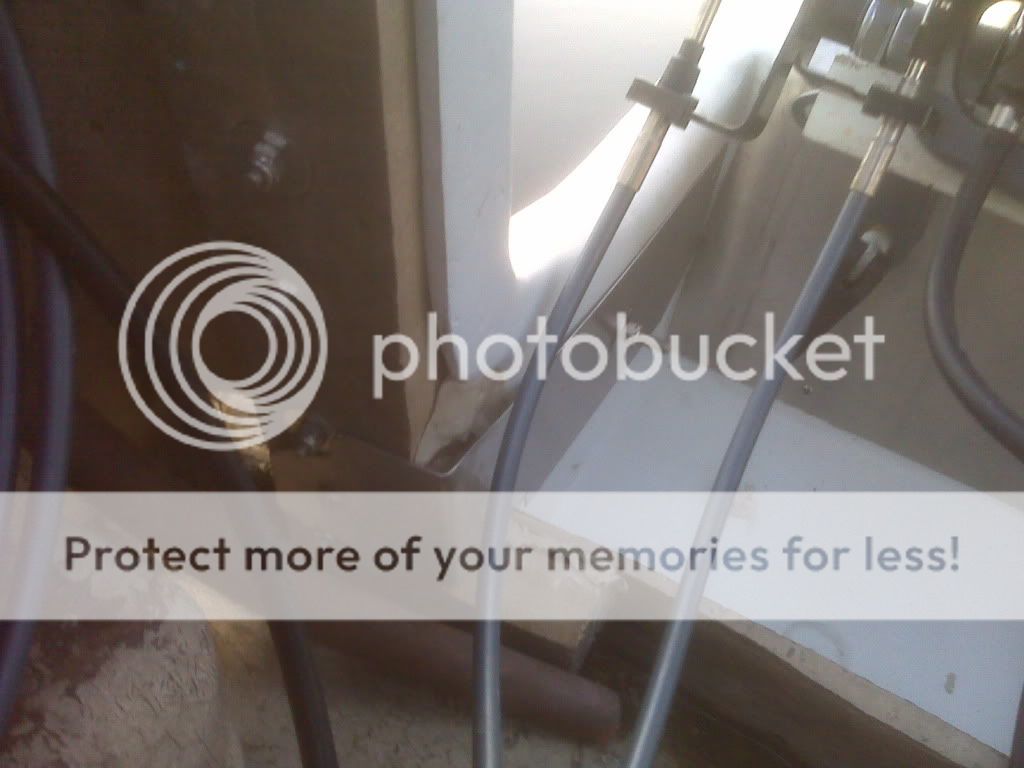
The choice of plywood size came down to what would fit into hollow opening on the OEM sides once the back plate was cut off " see pics two and four"
5/8" fit well into this gusset then 1/2" bonded to that and rounded over. the back plate made of two 5/8" and one 1/2" with fiber glass and stainless steal plate for clamps to bind on came to 2 1/4 inch, yamaha clamps open about 2 1/2 " kinda tight fit. well I'm starting to ramble a bit so, I hope something can be learned from this project. I think I told my wife it was going to cost somewhere around 100.00 bucks to fix the boat, I might have forgot to tell her about the 3,500.00 for the new motor and controls. LOL
I'm planning something not near as elaborate for Copacetic. Basically a big aluminum bracket that bolts to the sides of the existing mount. I'll let you folks know how it goes. I don't have the new motor yet, so we're still in the planning stage.


 fiber glassed with thick matting and finished with fiberglass resin jelly
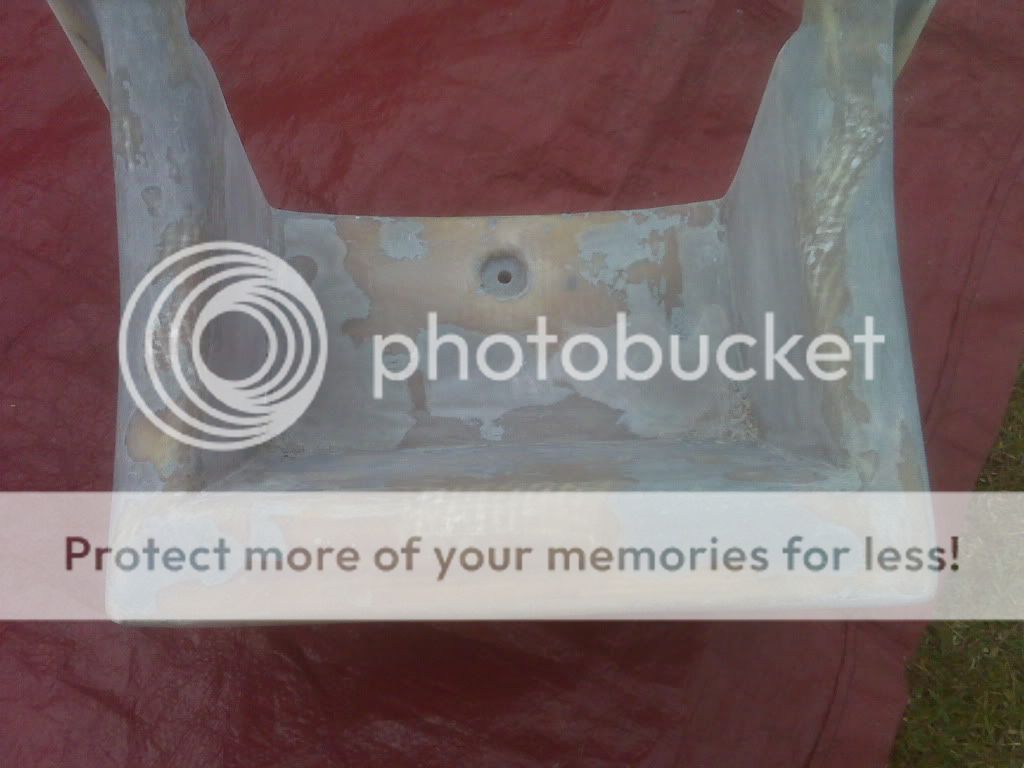
 [/img]