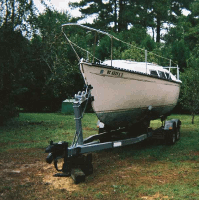
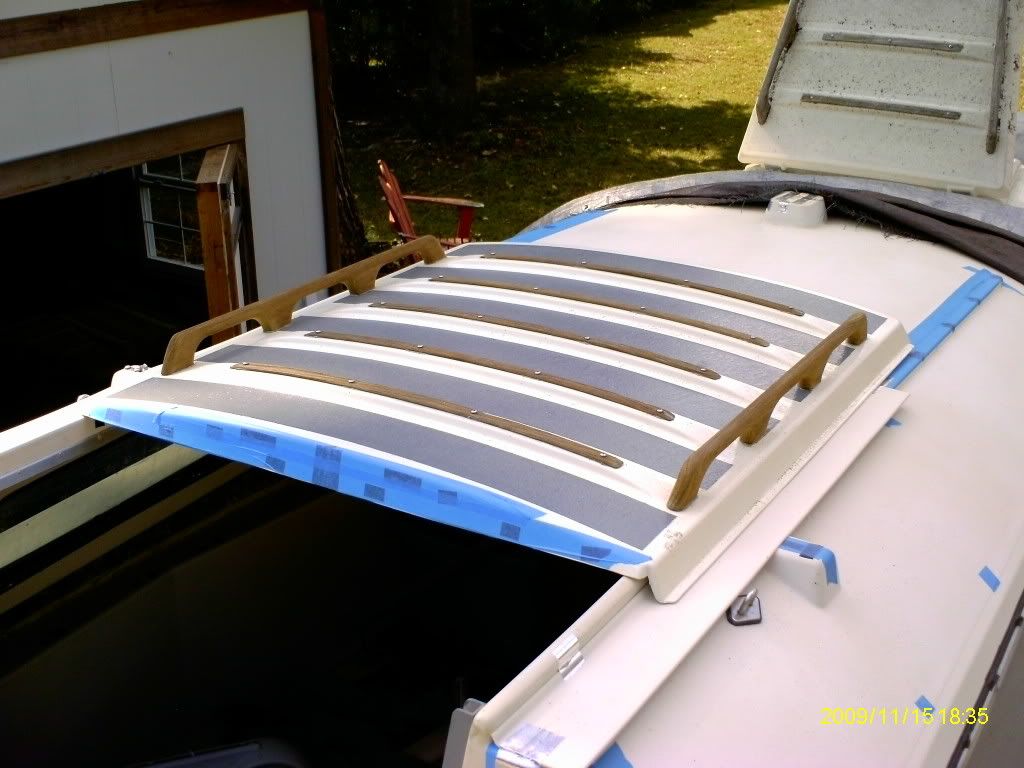
Here are the promised pics:
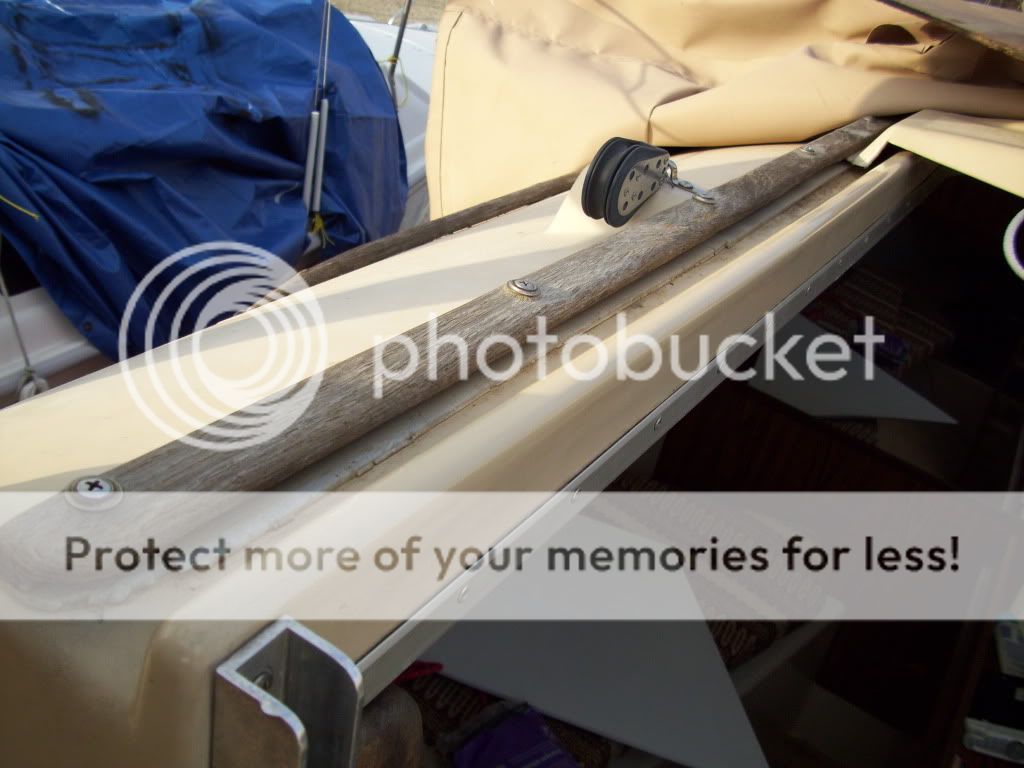
This is the hatch cover with repair and coating of the teflon impregnated epoxy (West System Epoxy). Note I left some tape on their to show how I formed it in place after it "kicked" (sort of):
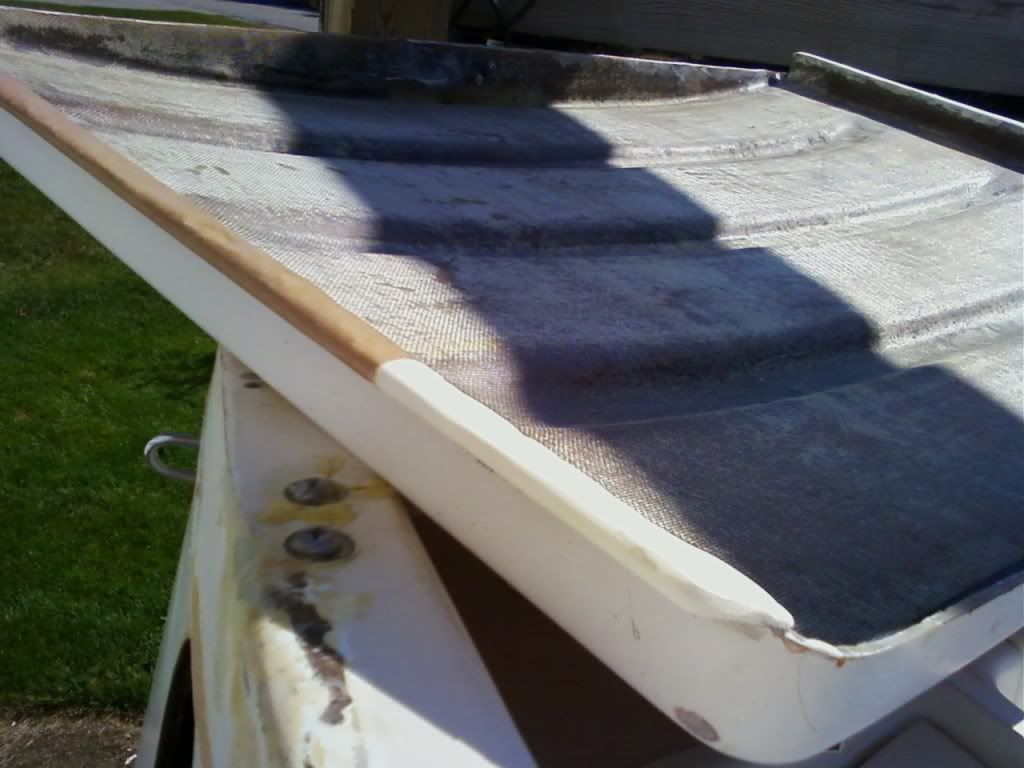
This was actually the last of two applications. Did this to fill the voids left from the first app.
Here's a couple of shots of the deck where the hatch slid on. I just taped off the area and applied the epoxy on the area with a putty knife. This coat here is quite thin, but with teflon on the hatch to match up to it, I don't think I'll see much wear and tear. But, as always, the proof is in the puddding:
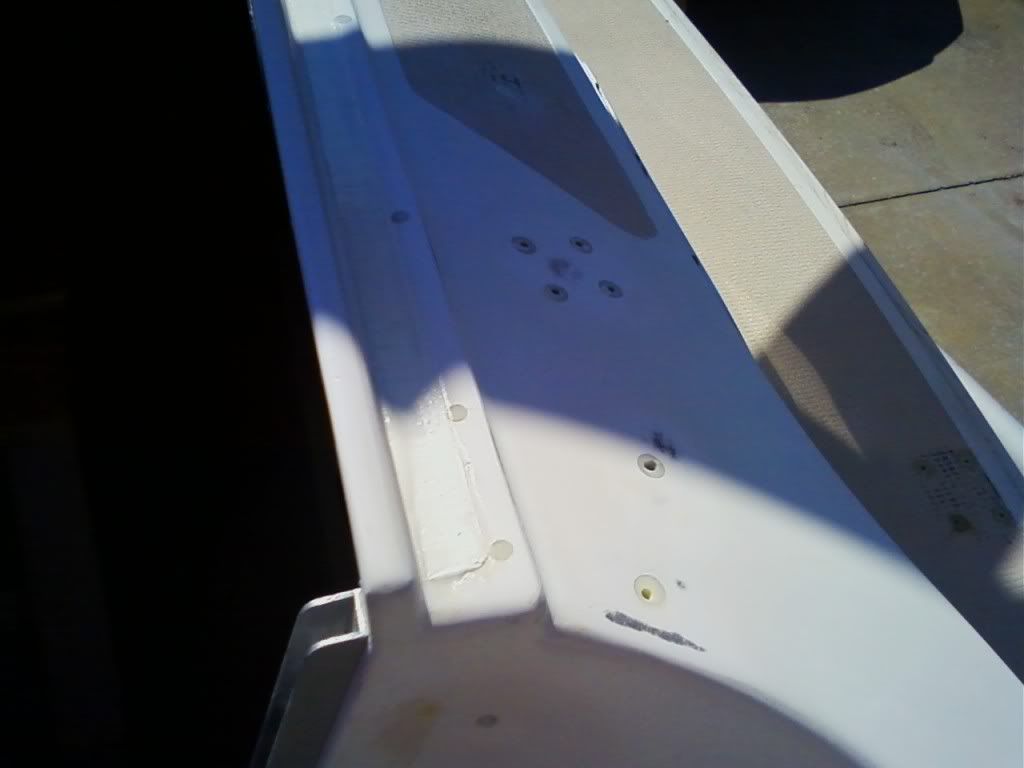
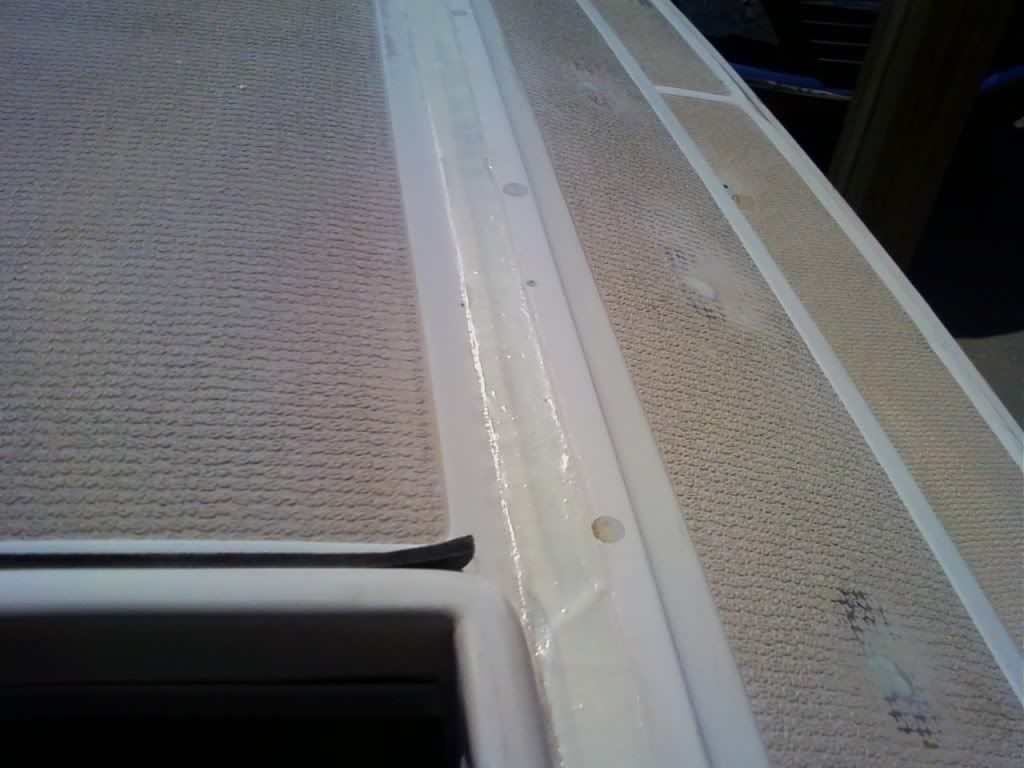
You'll see what looks like a depression from where the hatch had worn a groove. Looks like the epoxy needs another coat to fill it in. Actually, the epoxy mixture is slightly translucent and shows off the depth of the fill here. It really is quite level. I put a few drops of acetone in the epoxy before spreading it on the deck. Wanted to make sure it flowed nicely in this very thin application.
The talk is that this stuff gets more slippery the more you use or sand it. Contrarily, I found that after sanding, it's somewhat more sticky. However, this might be that the teflon or epoxy has melted from the friction of sanding. When I checked it the next day, the epoxy was nice and hard and very slick. Moral of the story is, just don't expect instant results.
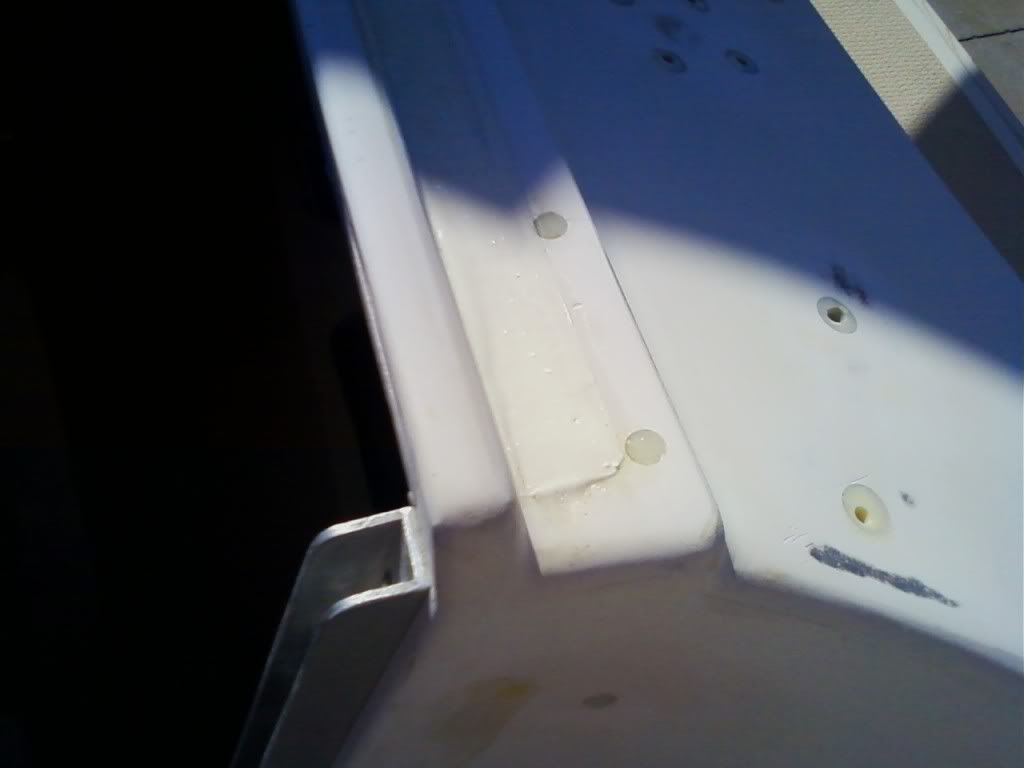
I had a broken corner on one of the flanges of my hatch (dropped it off the boat

). I rebuilt it using this epoxy, then sanded it down to the proper shape. I reefed on it a bit and found it to be quite strong. I think it will hold up nicely. Could have added some glass strips, but I think it will be fine.
My flanges are about twice the thickness of the originals. I have to replace the wood strips that cover the hatch flanges, so I will make allowances for them then.
Cheers!