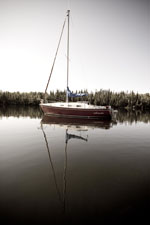
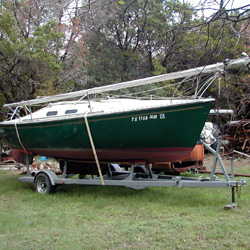
Here is a picture (gunk is on the right side running just below windows):

Thanks in advance!
It's a chore under the portlights since the scraper doesn't get in there too well, and you may find that one if those Scotch-Brite paint remover scrubbers you attach to a drill would work good.bryan wrote:I tried to use a little "Goo Gone" to remove some of it but had limited success with it.
Hover over the link and look in your lower browser bar and you might see he has an extra "http//" in the link.al the pal wrote:The link for the pictures appears broken... why, Why, WHY?!?!?